Did you know that you can prepare posts for Facebook and schedule them to be published later? With Facebook’s handy scheduling feature, you can ensure your posts get maximum exposure by sharing them at the perfect time for your audience. This may not necessarily be the same time you’re creating your marketing content, if you're a night owl like me.
It doesn’t matter what type of content you’re sharing, the procedure for scheduling is the same. You can share a simple text update, a photo, a video or a blog link. In this example I'll walk you through seven simple steps for sharing a plain text update. Next time I'll show you how to share a link to a blog post you've written.
Seven simple steps to schedule a post on Facebook
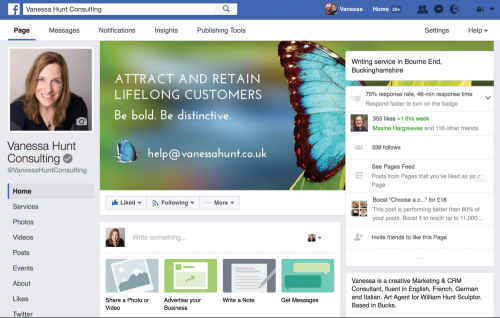
1) Navigate to your Facebook page by clicking on the small white arrow at the top right of your personal profile:

Navigate to your Facebook business page
2) Do you see the area where it says Write something… ?
Write a post on your Facebook page
3) Click in the box and enter your text:
Write your post
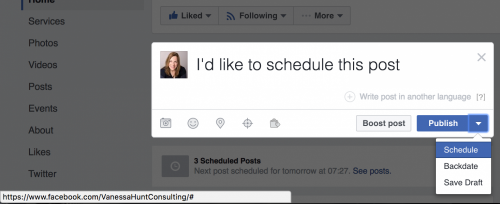
4) Look for the Publish button at the bottom right of the post window. Click on the white arrow to the right of the word Publish. Click Schedule in the list. The following window opens:
Schedule a time and date for you post
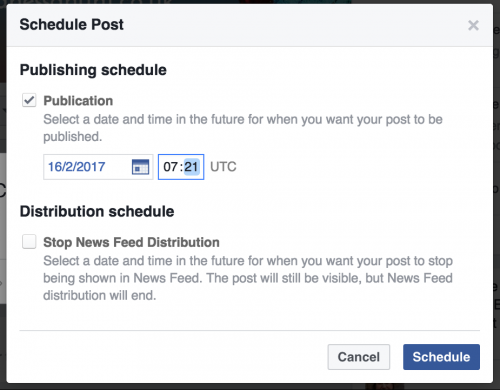
5) In the Schedule Post window, you'll see today's date. Select a future date by clicking on the tiny calendar icon to view the calendar. Click the day you wish to schedule your post.
6) Next specify the time you wish your post to be displayed. For example 07:21 in the example above. In case you didn't know, UTC = Coordinated Universal Time. Click here to find out more about UTC.
IS YOUR POST TIME-SENSITIVE?
If you're sharing a post that's timebound, for example the date of an upcoming event, you can select a future date and time after which your post should no longer be shown in Facebook's News Feed. Simply click the box next to Stop News Feed Distribution (shown above) to select the end date. The post will still be visible on your page, but News Feed distribution will end.
7) Finally, click the blue Schedule button at the bottom right of the window. Your post is now scheduled for publishing on the date and time you specified.
How to manage your scheduled posts on Facebook
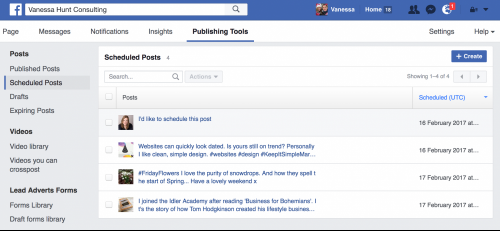
1) To view all posts you’ve previously scheduled, click on Publishing Tools at the top of the page. Then click Scheduled Posts in the left sidebar menu.
2) Posts are displayed in a table, sorted by their scheduled date. Click on a post to preview how it will be displayed in a browser and in the mobile app.
3) To reschedule a post, click the box to the left of the post whose date you wish to change. Click on Actions just above the table, and click the arrow to the right. Select Reschedule in the list. Select a new time and click the Reschedule button. Otherwise select Cancel Schedule or Backdate as needed.
Wait to be published by Facebook
Congratulations! You're done. You'll be notified by Facebook that your scheduled post was successfully published. All you need to do is relax and look out for likes and comments on your post at the scheduled time and date.
Want more Facebook tips like this?
If there are other Facebook topics you'd like to learn more about, please let me know and I'd be happy to add them to my editorial calendar of "How To" guides.
Review your scheduled posts

Post a comment